To handle and operate the Usha sewing machine, follow these steps-VS Sewing Machine
VS Sewing Machine: A Step-by-Step Guide to Operating Your Usha Sewing MachineAre you ready to bring your creativity to life with your new Usha sewing machine? We understand that getting started with a new machine can be a bit overwhelming, but fear not! In this comprehensive guide, we will walk you through the process of handling and operating your Usha sewing machine, step-by-step. So, let's dive in and get stitching!
Step 1: Familiarize Yourself with the Machine
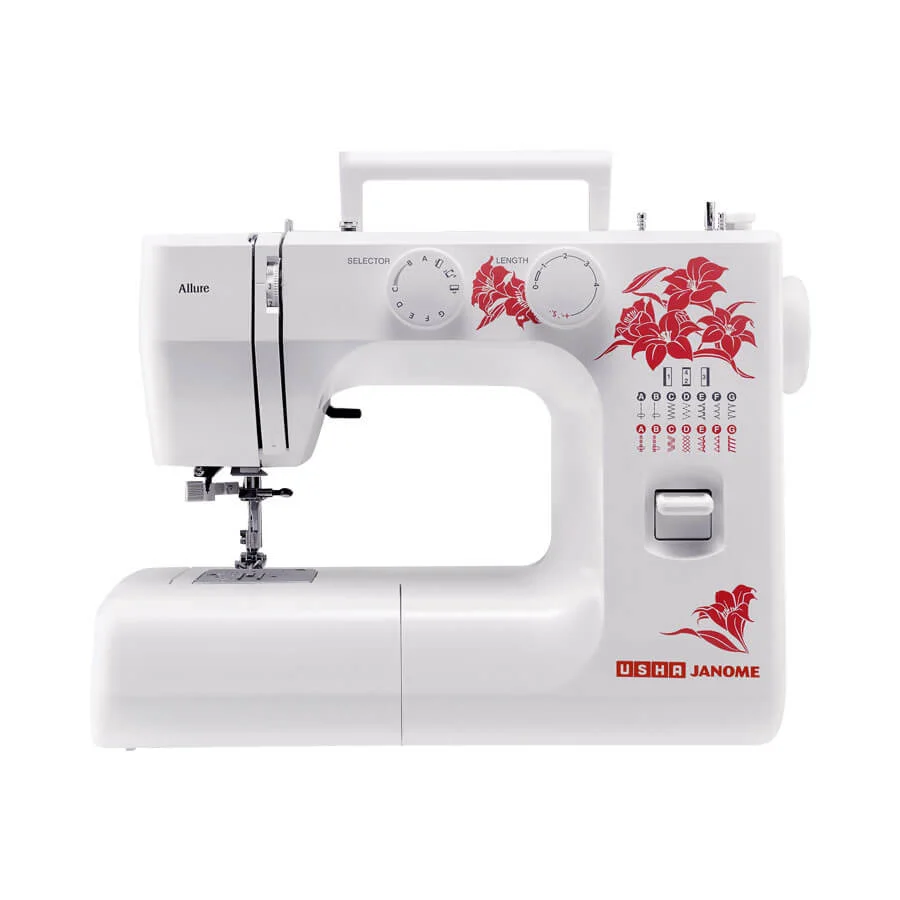
Before we begin, take a few moments to familiarize yourself with the different parts of your Usha sewing machine. From the presser foot to the needle plate, understanding the anatomy of your machine will make the entire process much easier. Refer to the user manual provided by Usha for a detailed diagram of your machine's components.
Step 2: Prepare the Machine
Now that you have a good understanding of the machine's parts, it's time to prepare it for use. Start by plugging in the power cord and turning on the machine. Ensure that the sewing machine is placed on a stable surface, ideally a sewing table or a desk, to provide a comfortable and secure working environment. second hand sewing machine in chennai
Step 3: Thread the Machine
Next, let's thread your Usha sewing machine. Begin by raising the presser foot and turning the handwheel towards you to raise the needle to its highest position. Take the spool of thread and place it on the spool pin, ensuring that it fits securely. Follow the threading path as indicated by the arrows on your machine, passing the thread through the tension discs and the take-up lever. Finally, thread the needle, leaving a tail of thread at least six inches long.
Step 4: Wind the Bobbin
To ensure a smooth and uninterrupted sewing experience, it's important to wind the bobbin correctly. Start by placing the thread spool on the spool pin and securing it with the spool holder. Take the end of the thread and guide it through the bobbin winding tension disc. Insert an empty bobbin onto the bobbin winder shaft and push it to the right until it clicks into place. Press the foot controller to start winding the bobbin, making sure to guide the thread evenly onto the bobbin. Once the bobbin is full, cut the thread and remove the bobbin from the bobbin winder.
Step 5: Insert the Bobbin
Now that you have a fully wound bobbin, it's time to insert it into the machine. Open the bobbin case door and place the bobbin into the bobbin case, ensuring that the thread is coming off the bobbin in a clockwise direction. Pull the thread through the slit in the bobbin case and close the bobbin case door.
Step 6: Select the Stitch and Adjust Settings
With the machine threaded and the bobbin inserted, it's time to select the stitch you want to use. Usha sewing machines offer a variety of stitch options, from straight stitches to decorative patterns. Refer to your user manual to understand the different stitch options available and select the one that suits your project. Additionally, you can adjust the stitch length and width according to your preferences.sewing machine dealers in chennai
Step 7: Start Sewing!
You're now ready to start sewing with your Usha sewing machine! Place your fabric under the presser foot, aligning it with the desired seam allowance. Lower the presser foot using the lever and gently press the foot controller to start sewing. Guide the fabric in a steady and controlled manner, keeping your fingers away from the needle. Remember to backstitch at the beginning and end of your seams to secure them.
Step 8: Practice and Explore
Now that you've mastered the basics of operating your Usha sewing machine, it's time to practice and explore its full potential. Experiment with different fabrics, stitches, and techniques to unleash your creativity and take your sewing skills to the next level. Don't be afraid to make mistakes; they are an essential part of the learning process.sewing machine in chennai
Conclusion
Congratulations on becoming familiar with the operation of your Usha sewing machine! By following these step-by-step instructions, you can confidently handle and operate your machine, bringing your sewing projects to life. Remember, practice makes perfect, so keep exploring and challenging yourself. If you have any questions or need further assistance, don't hesitate to reach out to our team at VS Sewing Machine. Happy sewing!
No comments:
Post a Comment